The Importance of ISO in Videography
ISO is one of the most important technical aspects of videography, and it’s essential to understand its role in creating high-quality videos. In videography, ISO is a measure of a camera sensor’s sensitivity to light.
A higher ISO setting allows your camera to capture more light, making your footage brighter but also potentially noisier. On the other hand, a lower ISO will make your footage darker but also cleaner.
Definition of ISO in Videography
ISO stands for International Organization for Standardization and is used as a measure of the sensitivity of photographic or video film to light. In videography, it refers to the sensitivity settings on digital cameras that determine how well your camera can capture images in low-light conditions. Put simply; it’s a way to adjust your camera’s exposure level when you need more or less light.
In simpler terms, ISO measures how much amplification is applied by the image sensor in your camera when capturing footage or photos in low-light situations. The higher the ISO setting you select, the more sensitive your camera becomes to available light sources.
Importance of ISO in Videography
ISO plays an essential role in videography because lighting conditions can vary greatly depending on where you are shooting. If you’re filming outside on a bright day, lower ISO settings may be suitable for getting crisp and clear shots with vibrant colors. At night or indoors with limited lighting, higher ISO settings are vital for capturing enough detail without losing too much image quality due to noise.
A good understanding of how different lighting conditions impact video quality and how different levels of sensitivity can affect footage captured under various lighting scenarios is important if you want consistently excellent results when shooting video content. Choosing an appropriate ISO setting will help you achieve balanced exposure levels that strike a balance between brightness and clarity.
Unfortunately, there is no one-size-fits-all approach when it comes to ISO settings in videography. Therefore, it’s important to know the different types of ISO settings and how they impact your footage to make informed decisions about the best settings that suit your specific shooting needs.
Understanding ISO
ISO is a crucial element in videography that can make or break the quality of your footage. Understanding ISO is essential for capturing the footage you desire while maintaining quality.
What is ISO?
ISO is an acronym for “International Organization for Standardization,” which sets standard values for camera sensitivity. In videography, ISO determines how sensitive the camera sensor is to light. It controls how much light will be required to capture a well-exposed image.
How does it affect video quality?
ISO has a significant impact on video quality, as it affects the amount of digital noise present in your footage. The higher the ISO setting, the greater the sensitivity of your camera sensor, which can lead to more digital noise or grain in your footage. On the other hand, lower ISO settings can result in less noise but may require more ambient light to achieve good exposure levels.
The key is to find a balance between grain and exposure by choosing an appropriate ISO setting based on lighting conditions and desired aesthetics. By selecting too high or too low an ISO value relative to lighting conditions and needs may result in unusable footage with either excessive noise or underexposure problems.
Different types of ISO Settings
Most cameras have three types of ISO settings: Auto-ISO, Manual-ISO, and Native-ISO. Auto-ISO automatically adjusts the sensitivity level according to varying light conditions; this feature often works well during outdoor filming where scenes have changing light intensities.
Manual-ISO allows you full control over selecting an optimal setting for better video results; however, it requires adequate knowledge of lighting situations and how each value affects image quality. Native-ISO ranges from 400 – 800; this range gives your camera its best performance with minimum digital artifacts and better dynamic range capabilities allowing you to capture shots with even more clarity and detail.
Thus, understanding ISO is crucial for videographers who want to get the best footage possible. Before choosing an ISO setting, it’s important to consider lighting conditions, desired aesthetics and your camera capabilities to achieve the desired video quality.
Choosing the Right ISO for Your VideoFactors to consider when choosing an ISO setting
When it comes to choosing the right ISO setting for your video, there are several factors that you need to take into consideration. These include lighting conditions, the desired look and feel of your video, as well as your camera’s capabilities and limitations. Lighting conditions
One of the most important factors that you need to consider when choosing an ISO setting is the lighting conditions in your shooting environment. In low-light situations, you will need to raise your ISO in order to capture enough light and maintain a decent exposure. However, this will also increase noise levels in your footage.
On the other hand, in bright environments with plenty of natural light or studio lighting setups, you can afford to keep your ISO low without sacrificing image quality. This will result in less noise and a sharper image overall. Desired look and feel of the video
Another factor that can influence your choice of ISO is the desired look and feel of your video. For example, if you want a darker or grittier aesthetic, using a higher ISO can add graininess or texture to the footage that gives it character. Alternatively, if you are looking for a cleaner or more polished look, keeping your ISO lower will help create smoother imagery. Camera capabilities and limitations
It is important to consider your camera’s capabilities and limitations when choosing an appropriate ISO setting. Some cameras are better equipped for low light situations than others while some may produce more noise at higher settings than others. Additionally, older cameras may not have as much leeway with their settings compared to newer models with better technology. Examples of how different ISO settings can impact a video
To illustrate how different ISO settings can impact a video visually, let’s take two scenarios: one shot at a higher ISO and another shot at a lower ISO. In the first scenario, with high ISO settings, you may notice more noise in the footage and an overall grittier texture.
This can be useful for creating a specific aesthetic or mood. However, in the second scenario with low ISO settings, you will see sharper and cleaner footage without much noise.
Choosing the right ISO setting for your video requires careful consideration of several factors including lighting conditions, desired look and feel of your video, camera capabilities and limitations. By understanding these factors and experimenting with different settings on your camera, you can create stunning videos that capture exactly what you envision.
Tips for Shooting with High and Low ISO Settings
Shooting with High ISO Settings: When to Use Them
Using high ISO settings can be helpful in low light conditions or when you need a faster shutter speed to capture action footage. However, using high ISO settings can result in grainy footage, also known as digital noise. To minimize this effect, try to avoid underexposing your footage and ensure that there is enough light on your subject.
Additionally, some cameras have built-in noise reduction features that can help reduce digital noise in post-production. High ISO settings are also useful when shooting nighttime scenes or capturing stars.
However, be mindful of the shutter speed when using high ISO settings for these types of shots. The longer the exposure time, the more likely it is that you’ll experience digital noise.
Minimizing Noise in High-ISO Footage
To minimize digital noise in high-ISO footage, it’s important to keep in mind the exposure triangle: aperture, shutter speed and ISO. One way to reduce noise is by opening up your aperture as wide as possible (lower f-stop numbers) so that more light enters the camera sensor. Alternatively, using a slower shutter speed may also help reduce digital noise but be careful of too much motion blur.
Another technique to minimize digital noise is to shoot in RAW format instead of JPEG which gives you more flexibility during post-production. You can also use dedicated video editing software like Adobe Premiere Pro or Final Cut Pro X which offers advanced color grading tools and denoising filters.
Shooting with Low-ISO Settings: When to Use Them
Low-ISO settings are ideal for shooting well-lit scenes where there’s plenty of available light such as outdoors during daylight hours or when using studio lighting setups. When shooting with low-ISO setting you typically get less noise and a higher dynamic range which makes it easier to edit your footage in post-production.
Another benefit of shooting with low-ISO settings is that you can get sharper images with more details, especially when using fast lenses that have a wide aperture (low f-stop numbers). However, keep in mind that low-ISO settings require longer exposure times or slower shutter speeds which can result in motion blur if shooting moving subjects.
Maximizing Dynamic Range in Low-ISO Footage
When shooting with low-ISO settings, it’s important to maximize the dynamic range of your footage. This means capturing as much detail as possible in both the highlights and shadows. One way to do this is by exposing for the highlights and bringing up the shadows during post-production.
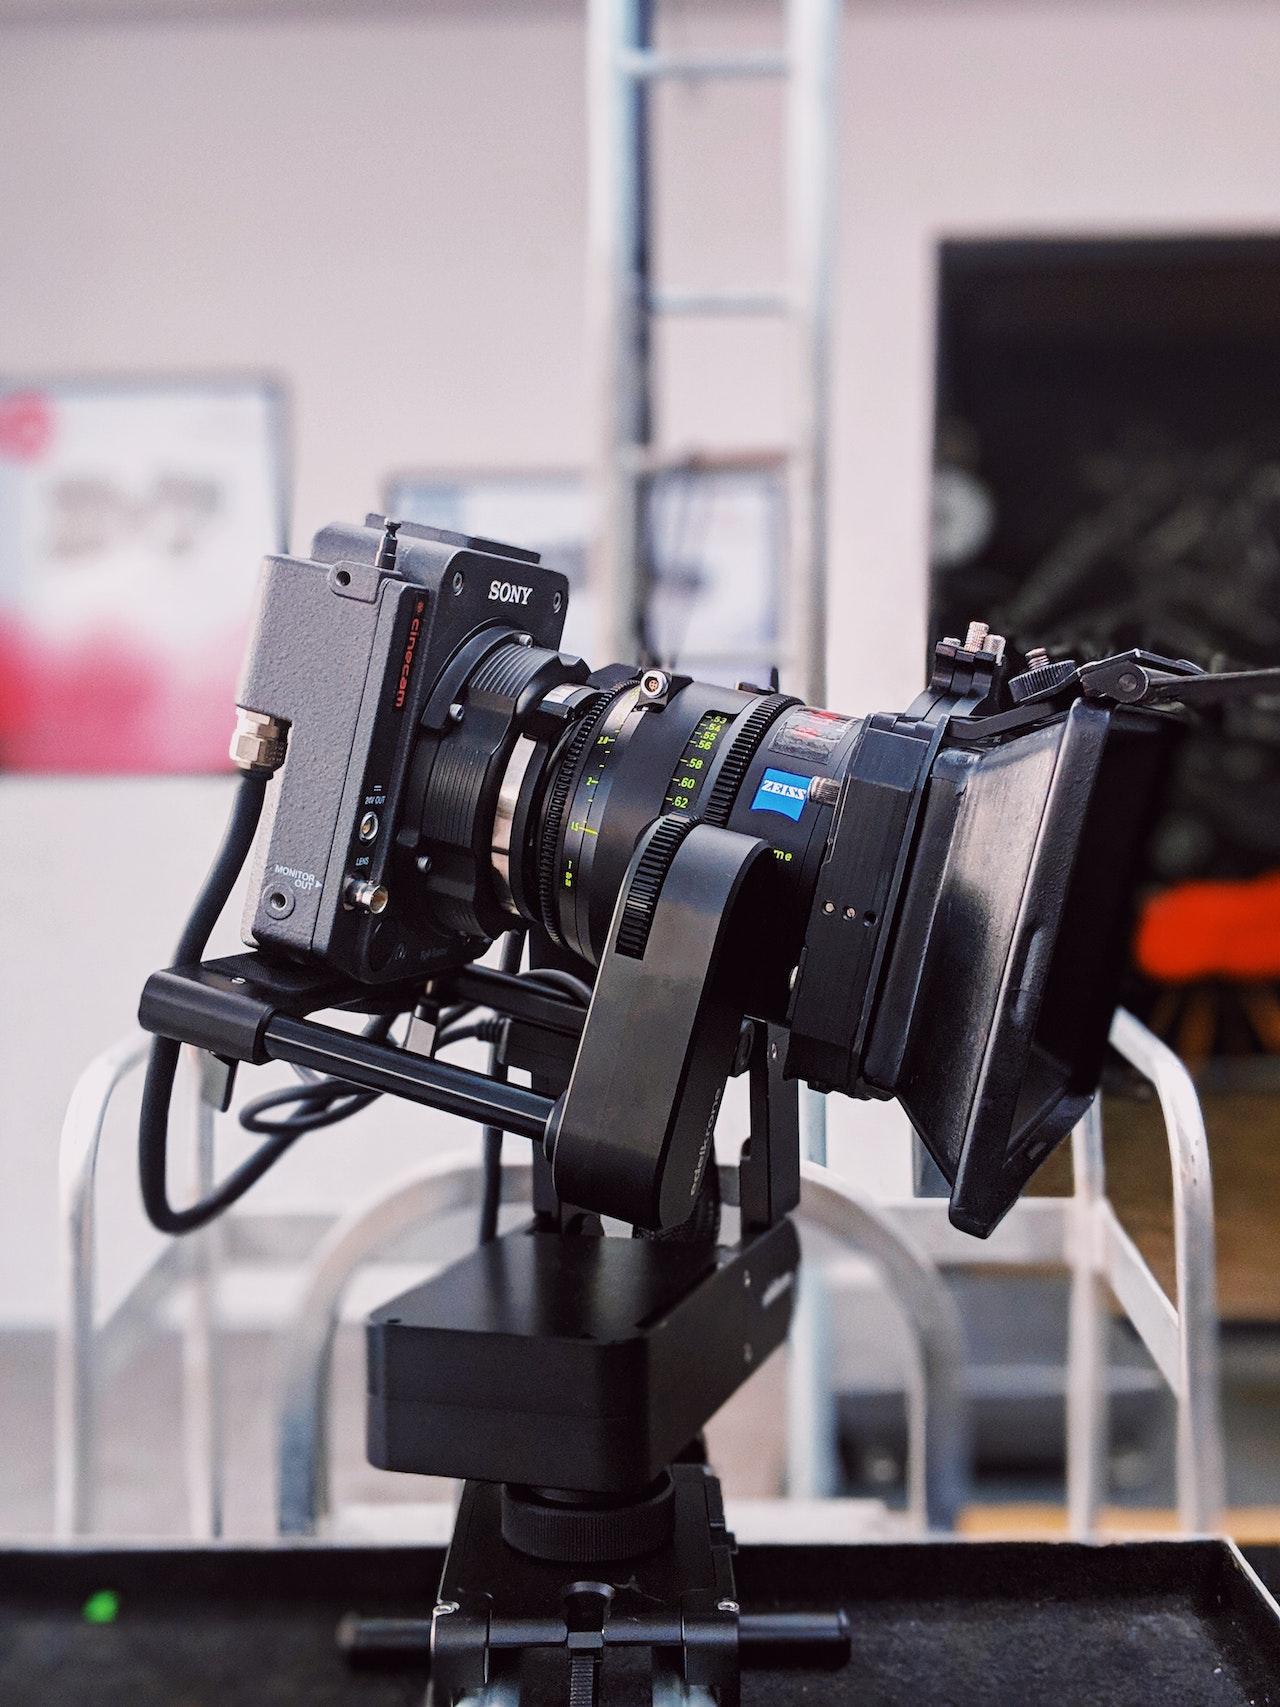
You can also use ND filters (neutral density) to reduce light entering the camera when shooting outdoors or use diffusers to soften harsh light sources. Additionally, some cameras have built-in HDR modes which capture multiple exposures simultaneously and combine them into a high dynamic range image or video.
Using ISO correctly is crucial for achieving high-quality videography results. By understanding when to use high or low ISO settings and employing relevant techniques such as minimizing noise or maximizing dynamic range, videographers can produce stunning videos that are visually appealing and professional-looking.
What is ISO in videography and how does it affect the final video?
ISO in videography is the sensitivity of the camera sensor to light. It is an important factor in videography as it affects the exposure, image quality, and noise level of the video. A higher ISO will result in a shorter exposure time, a lower image quality, and more noise, while a lower ISO will result in a longer exposure time, a higher image quality, and less noise.
How can you use ISO to control the exposure of your videos?
You can use ISO to control the exposure of your videos by carefully choosing the ISO of the camera. A higher ISO will result in a shorter exposure time, while a lower ISO will result in a longer exposure time. By adjusting the ISO, the videographer can control the exposure of the video.
What is the relationship between ISO, shutter speed, and aperture in videography?
The relationship between ISO, shutter speed, and aperture in videography is that a higher ISO will require a faster shutter speed and a larger aperture, while a lower ISO will require a slower shutter speed and a smaller aperture. This is because a higher ISO will allow more light to pass through, which will require a faster shutter speed and a larger aperture.
How does ISO affect the image quality of a video?
ISO affects the image quality of a video by determining the sensitivity of the camera sensor to light. A higher ISO will result in a lower image quality, while a lower ISO will result in a higher image quality.
What is the ideal ISO for shooting in low light conditions?
The ideal ISO for shooting in low light conditions is between 3200 and 6400. This ISO will result in a shorter exposure time that will allow the camera to capture more light in the scene.
How can you use ISO to create a specific mood or atmosphere in your videos?
You can use ISO to create a specific mood or atmosphere in your videos by carefully choosing the ISO of the camera. A higher ISO will result in a lower image quality and more noise, which can create a gritty or cinematic look.
What is the difference between a high ISO and a low ISO in videography?
The difference between a high ISO and a low ISO in videography is that a high ISO will result in a shorter exposure time, a lower image quality, and more noise, while a low ISO will result in a longer exposure time, a higher image quality, and less noise.
How can you use ISO to balance the exposure of different parts of a scene in your videos?
You can use ISO to balance the exposure of different parts of a scene in your videos by carefully choosing the ISO of the camera. A higher ISO will result in a shorter exposure time, while a lower ISO will result in a longer exposure time. By adjusting the ISO, the videographer can adjust the exposure of different parts of the scene.We wrote other articles that might be of value to you like:
Mastering the Art of Shutter Speed: A Videographer’s Guide and The Art of Aperture: Mastering Stunning Photography reading them would be of great value to you.
What is the effect of changing the ISO on the noise level in a video?
Changing the ISO will affect the noise level in a video by determining the sensitivity of the camera sensor to light. A higher ISO will result in more noise, while a lower ISO will result in less noise.
How can you use ISO to capture the perfect shot in challenging lighting conditions?
You can use ISO to capture the perfect shot in challenging lighting conditions by carefully choosing the ISO of the camera. A higher ISO will allow more light to pass through, while a lower ISO will allow less light to pass through. By adjusting the ISO, the videographer can capture the perfect shot in challenging lighting conditions.
What is the difference between iso in photography and videography?
The difference between ISO in photography and videography is minimal. ISO is a camera setting that determines the camera’s sensitivity to light. In photography, ISO affects the brightness of the image and the amount of noise or grain in the image. Similarly, in videography, ISO affects the brightness of the video and the amount of noise or grain in the video.
The lower the ISO number, the less sensitive the camera is to light, resulting in a darker image or video with less noise. The higher the ISO number, the more sensitive the camera is to light, resulting in a brighter image or video with more noise. In both photography and videography, ISO is one of the three pillars of exposure, along with shutter speed and aperture.
Is the ISO range different for photography and videography?
The ISO range is not different for photography and videography. In both photography and videography, ISO is a camera setting that determines the camera’s sensitivity to light. The ISO range in most modern cameras ranges from 100 to 6400, with some cameras having a maximum ISO of 80, while others can reach 25,000 or more.
Changing the ISO between different photos or videos is one of the significant advantages of digital photography and videography. The lower the ISO number, the less sensitive the camera is to light, resulting in a darker image or video with less noise. The higher the ISO number, the more sensitive the camera is to light, resulting in a brighter image or video with more noise.
What is the recommended ISO range for shooting videos?
The recommended ISO range for shooting videos depends on the camera’s make and model. Generally, most cameras can handle a DSLR video setting for ISO between 800 and 1600. However, some cameras when shooting video will have a base ISO of around 600-800, which you won’t be able to shoot below. It is always recommended to keep the ISO as low as possible when shooting video to avoid digital noise or grain in the video.
When shooting in low light conditions, try to stick under ISO 6,400 for a full-frame camera, ISO 3,200 for an APS-C one, and ISO 1,600 for a Micro Four Thirds. It is important to note that the ISO range may vary depending on the camera’s capabilities and the lighting conditions of the shooting environment.
What is the difference between native and non-native ISO?
The difference between native and non-native ISO is that native ISO is the range of ISO settings that cameras can produce without any extra digital manipulation, while non-native ISO is any ISO setting above or below the native ISO range. Native ISO is an actual amplification setting in the camera that does not require interpolation in processing, while non-native ISO is often referred to as extended ISO.
Extended ISO settings tend to offer worse quality images with less dynamic range, similar to edits done in Adobe Lightroom or Photoshop. The base ISO is the lowest ISO that the manufacturer has decided is within the main range of ISOs, while the native ISO is a range of sensitivities offered by a camera from the base ISO through the maximum default sensitivity.
What is extended ISO?
Extended ISO is a range of ISO values that are purely created by the camera’s software manipulations. It is a completely artificial set of ISO values that are conjured up by the camera’s software. Extended ISO is one of two ISO ratings that a camera has, the other being native ISO. Native ISO is the range of ISO settings that cameras can produce without any extra digital manipulation. Anything above or below, like Hi or Low ISO, are generally extended ISO settings.
Extended ISO settings tend to offer worse quality images with less dynamic range, similar to edits done in Adobe Lightroom or Photoshop. Camera manufacturers began to market an “extended” ISO range, which is a digitally enhanced expansion on top of the base ISO. However, extended ISO will not give the same results as native ISO, and it is recommended to remain within the native ISO range for the best possible detail.
Which cameras have extended ISO?
Most digital cameras these days offer expanded ISO values on both sides of the native values. However, extended ISO is not recommended as it is a completely artificial set of ISO values that are purely created by the camera’s software manipulations. When actually used to take an image, the camera uses the highest native ISO value available and then boosts the exposure using the camera’s image processor.
The extended ISO range is a digitally enhanced expansion on top of the base ISO, which is a range of ISO settings that cameras can produce without any extra digital manipulation. Examples of cameras with extended ISO include the Sony a6300, which has a native ISO range of 100-25,600, and the Sony A7R Mark IV, which has a native ISO range of ISO 100 to 32,000 with a Low ISO value of 50 and High Extended ISO value up to 102400. However, it is recommended to remain within the native ISO range for the best possible detail.
Conclusion
Summary of Key Points
ISO in videography refers to the sensitivity of a camera’s sensor to light. It is an essential component of creating visually appealing videos and can affect the overall quality of the footage. Understanding how different ISO settings work and choosing the right one based on lighting conditions, desired look, and camera capabilities are crucial for capturing great footage.
The Art of Mastering ISO for Creating Visually Appealing Videos
Mastering the art of using different ISO settings can help you create more visually appealing videos. By understanding how to use high and low-ISO settings effectively, you can achieve the desired look and feel for your video while minimizing noise in high-ISO footage and maximizing dynamic range in low-ISO footage. Using a high ISO setting can be useful when shooting in low-light conditions or capturing fast-moving subjects.
However, it results in increased noise levels that can degrade video quality. To minimize noise, techniques such as denoising algorithms or slower shutter speeds can be used.
On the other hand, using a low ISO setting is ideal when shooting in well-lit environments or when aiming for a cinematic look with a wide dynamic range. In this case, techniques such as neutral density filters or slower shutter speeds can be used to ensure proper exposure without sacrificing image quality.
Optimistic Spin
By mastering the art of using different ISO settings, videographers have access to an additional tool that helps them create stunning visuals. With proper knowledge and experimentation with different techniques, anyone can achieve excellent results no matter what equipment they use. Captivating videos are within reach; it’s all about understanding how to make ISO work to your advantage!

I am a highly experienced film and media person who has a great deal to offer to like-minded individuals. Currently working on several exciting projects, I am a film and media practitioner for over a decade. I have achieved a great deal of success in my professional career.
