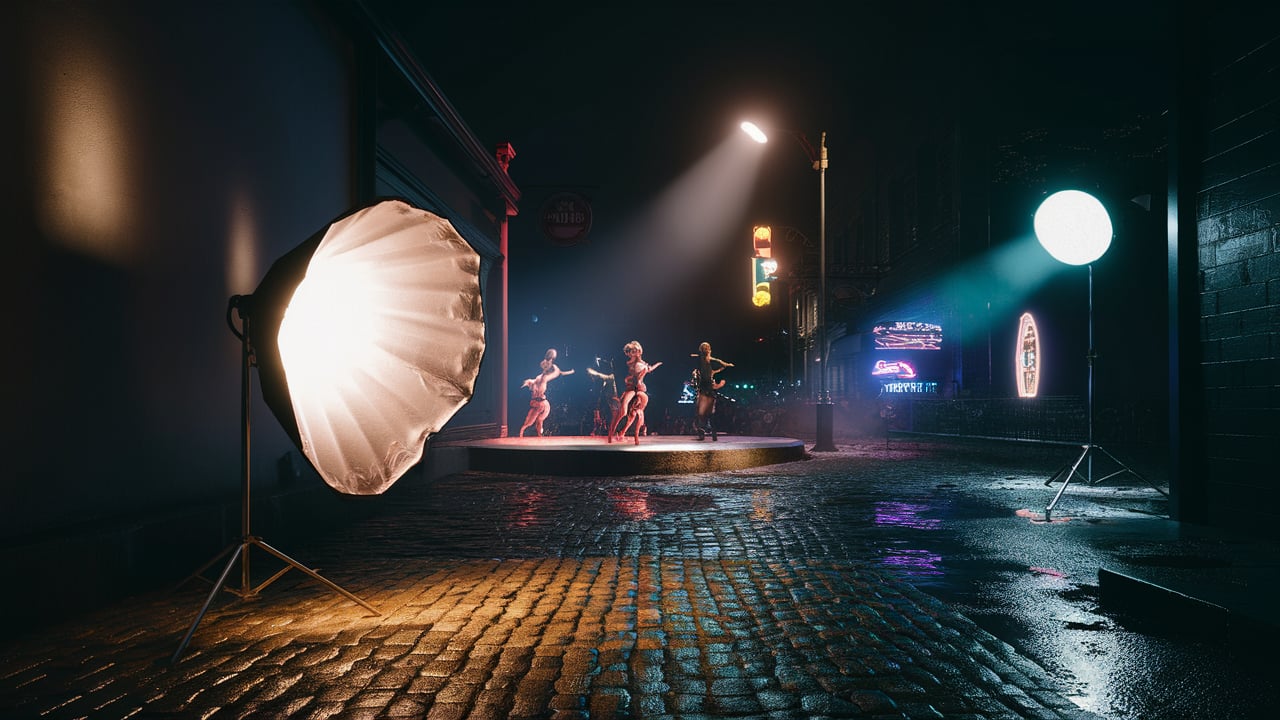
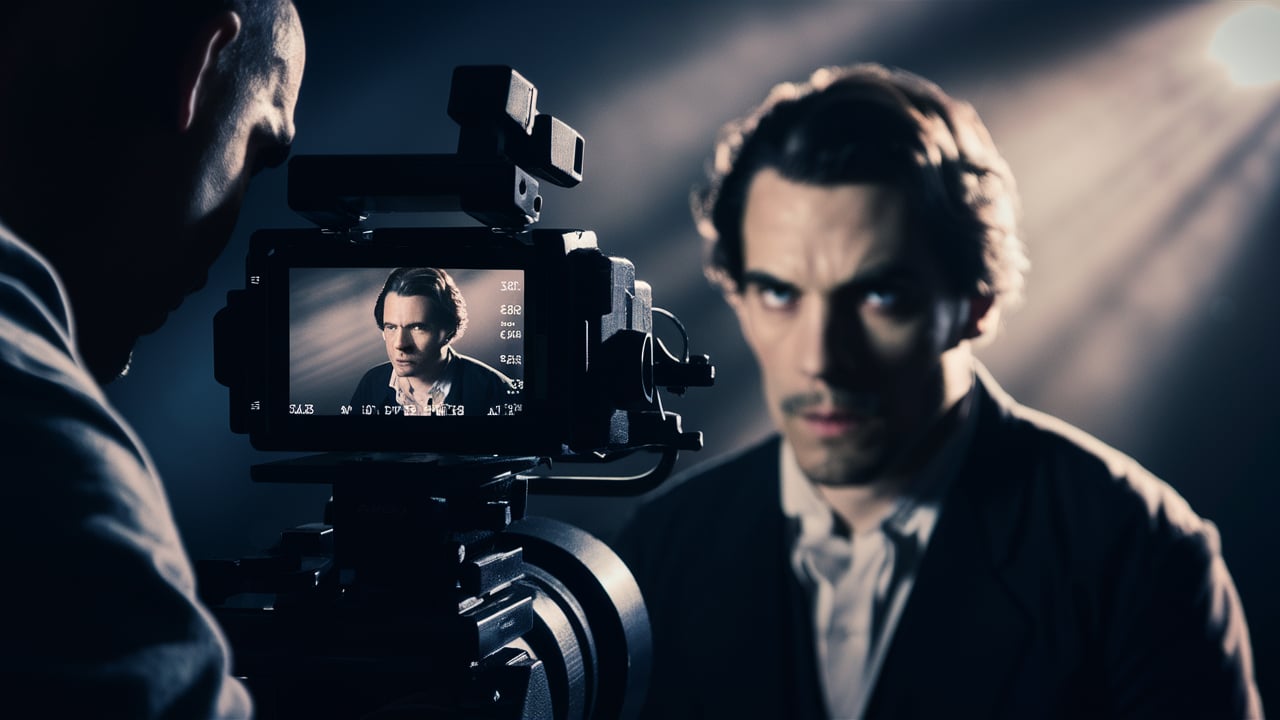
Video is a powerful medium that has taken over the world by storm. It allows us to tell stories, capture moments, and document events in a way that still photography cannot. One of the most important aspects of video production is framing.
Framing refers to how images are composed and presented within the frame of a shot. It determines how the audience perceives and interprets what is being shown onscreen.
Definition of framing in videography
Framing in videography refers to how different elements are arranged within each shot. It involves selecting what will be in the frame, where it will be placed, and how it will be presented to viewers. This includes factors such as camera angle, distance from subject, composition techniques, and more.
In essence, framing determines what we see onscreen and influences our emotional response to it. A well-executed frame can create an emotional connection with audiences or convey important information without dialogue or narration.
Importance of framing in videography
Framing plays an essential role in video production as it directly affects how audiences perceive and understand the story being told onscreen. Different types of frames create different moods or evoke specific emotions from viewers. Furthermore, proper framing ensures that important information is conveyed effectively without distracting from the overall message being conveyed by the video producer.
A poorly framed shot can break immersion for audiences and ruin an otherwise great video production. Good framings ensure that videos stay engaging throughout their duration while bad framings detract from their overall quality.
Overview of the different types of frames
There are several types of frames commonly used in videography including wide shots, medium shots, close-up shots, extreme close-up shots, two-shots and over-the-shoulder shots. Wide shots show more than just individuals but also their surroundings like buildings or landscapes.
Medium shots capture a person from the waist up and help to provide context while close-up shots depict headshots or other specific features of a subject.
Extreme close-up shots are used to show details like facial expressions and over-the-shoulder shots are used to show dialogue and reactions between two people. Understanding the different types of frames is critical in producing effective videos that grab viewer attention while delivering the intended message.
Types of Frames
Videography involves capturing moments and telling stories through a visual medium. One of the essential elements that contribute to the success of a video is framing.
How you choose to frame the subject can convey different meanings, emotions, and sensations to the audience. Having an understanding of the various types of frames in videography is crucial for a filmmaker who wants to create visually compelling content.
Wide Shot
A wide shot (WS)is used to establish context or setting by showing both the subject and its surroundings. The primary objective of a wide shot is to give an idea about where things are happening. Filmmakers use WS at the beginning or end of a scene or whenever they need to show spatial relationships between objects in a scene.
For example, in an outdoor landscape setting, you might use a WS shot to show mountains and trees around the main subject, such as hikers or bikers moving along a trail. A WS can also be used indoors when filming architecture or large crowds that need space.
Medium Shot
The medium shot (MS) is one of the most commonly used shots in videography as it shows more details than wide shots without getting too close up on individual subjects like close-up shots do. In MS, more emphasis is placed on people’s actions and mannerisms rather than on their emotions. In MS, viewers can see most things that are going on within the frame while still being able to recognize facial expressions and body language from individuals within it.
Close-Up Shot
A close-up shot (CU) focuses on showing detailed facial expressions or small objects such as jewelry, watches, or other accessories that relate directly with your story. CU is often used during conversations between two characters when focusing on their facial expressions might reveal nuances in their emotions.
CU shots are also useful in product videos where the focus is on displaying the details and features of the product. Filmmakers often use these shots to create an intimate connection between viewers and subjects.
Extreme Close-up Shot
The extreme close-up shot (ECU) focuses on a specific part of a subject, such as their eyes, mouth, or hands. These shots are used to emphasize a particular detail or emotion that might not be noticeable in other frames. Example: Filmmakers often use ECU when showing a tight shot of an athlete’s face before they make a critical move in sports or dancing.
Two-Shot
The two-shot (TS) is used to show two people interacting with each other within one frame. This shot can be used in different ways, such as portraying relationships (romantic, friendship), establishing power dynamics (boss vs.
employee), or setting up impending conflicts. Example: In romantic scenes, you might use TS to show both characters’ expressions and body language during conversations, while emphasizing their intimacy.
Over-the-Shoulder Shot
An over-the-shoulder shot (OTS) shows one character from behind as they look at another character who faces forward towards the camera. OTS helps establish spatial relationships between characters in space while also giving audiences a point of view that corresponds with their physical position within the scene. Filmmakers often use OTS during dialogues between two characters to break monotony by changing angles while maintaining spatial continuity during conversations.
Overall, understanding how to frame your subject using different types of frames plays an important role in shaping your audience’s perception and emotional response towards your video content. The next section will discuss how framing techniques can be applied using the rule of thirds composition technique.
Rule of Thirds
Definition and Explanation
The rule of thirds is a guideline used in visual arts, including videography, to create balanced and aesthetically-pleasing compositions. It involves dividing the frame into three equal horizontal and vertical sections, resulting in nine even squares.
The main subject or focal point of the shot should be placed along one of the four intersection points between these lines, instead of directly in the center. This creates a sense of visual tension and balance by breaking up the frame into dynamic areas that draw the viewer’s eye.
It also allows for negative space or “breathing room” around the subject that can enhance its importance or emotional impact. This technique has been used in art for centuries and is still widely used today due to its effectiveness.
How to Apply the Rule of Thirds in Framing
To apply the rule of thirds in framing a shot, first, imagine two equally spaced horizontal lines running across your viewfinder or screen. Then imagine another two equally spaced vertical lines running perpendicular to those.
You will have now created nine even boxes on your screen. Next, place your main subject at one of these intersection points where two lines meet instead of placing it directly at center frame.
This can create a more dynamic composition and draw attention to important parts within your shot. However, keep in mind that rules are made to be broken, and some shots may benefit from breaking this guideline altogether.
Be creative with your framing choices but remember that following basic principles such as this will help you build strong foundations for creating beautiful shots. Applying this technique can lead to more interesting visuals by creating a natural focal point while also balancing out negative space around any given subject matter.
Composition Techniques
Leading Lines: Drawing the Eye Into Your Shot’
One of the most effective ways to guide your viewer’s eye is by using leading lines. Leading lines are lines within your shot that lead towards your subject or a focal point in your scene.
These could be anything from a railing or pathway to telephone poles or tree branches. By using these lines, you can create a sense of depth and dimensionality, as well as direct attention where you want it to go.
Symmetry and Balance: Creating Harmony in Your Shots
Symmetry and balance are key elements in creating a visually pleasing shot. Symmetry is achieved when both sides of your frame mirror each other, while balance refers to creating harmony between different elements in the frame.
To create symmetry, try placing your subject directly in the center of the frame with identical objects on either side. Alternatively, use balance by positioning larger objects on one side and smaller objects on the other. You may also like:
Camera Lenses: A Comprehensive Guide and Their Secrets and Mastering Depth of Field in Videography: Beyond the Surface
Depth and Layers: Adding Dimensionality to Your Shots
Depth and layers refer to adding visual depth to your shots by including foreground, middle ground, and background elements. This can help create a sense of space within your shot and add interest for viewers. For example, if shooting a landscape scene with mountains in the background, try including a tree or rock formation in the foreground for added depth.
Framing for Emotion and Mood
Low Angle Shots for Empowerment or Intimidation
A low angle shot is taken from below eye level looking up at the subject. This technique can be used to make subjects appear larger than life or intimidating by making them appear taller than their surroundings; alternatively, it can be used to make characters appear vulnerable when they’re captured from below.
High Angle Shots for Vulnerability or Weakness
High angle shots are taken from above eye level looking down at a subject. This technique can be used to make subjects appear smaller, weaker, or more vulnerable than their surroundings.
Dutch Angles for Unease or Disorientation
A Dutch angle is a shot that is tilted to one side. This technique can be used to create feelings of unease or disorientation in the viewer by putting them off balance.
Advanced Framing Techniques
Rack Focus: Shifting Focus Within Your Shot
Rack focus refers to shifting focus within your shot from one object to another. This technique can be used to draw attention to different elements within the frame, and create a sense of depth and dimensionality.
Zoom In/Out: Changing Perspective Within Your Scene
Using zoom in/out techniques can provide opportunities for dramatic reveals and changes in perspective. Zooming out helps establish geography and scale while zooming in helps capture detail and emotion up-close
Panning: Capturing Action Across Your Scene
Panning involves moving the camera horizontally across a scene while keeping your subject in frame. This technique can be used to capture movement, follow action, or create a sense of scale.
What is framing in videography?
Framing in videography is the process of composing a shot to create a visually appealing image. It involves positioning the camera and the subjects in the frame to create a balanced composition.
Why is framing important in videography?
Framing is important in videography because it helps to create a visually appealing image that will draw the viewer’s attention. It also helps to tell the story of the video by creating a sense of depth and movement.
What are the different types of framing in videography?
The different types of framing in videography include the
- rule of thirds,
- the golden ratio,
- close-up shots,
- wide shots,
- medium shots,
- long shots,
- high angle shots,
- low angle shots,
- Dutch angle shots,
- straight angle shots,
- static shots,
- moving shots,
- handheld shots,
- tripod shots,
- shallow depth of field shots,
- deep depth of field shots,
- soft focus shots,
- sharp focus shots,
- natural light shots,
- studio light shots,
- day shots,
- night shots,
- color shots,
- black and white shots,
- high contrast shots,
- low contrast shots,
- high saturation shots,
- low saturation shots,
- high exposure shots, and low exposure shots.

What is the rule of thirds in framing?
The rule of thirds in framing is a compositional technique in which the frame is divided into thirds, both horizontally and vertically, and the subject of the shot is placed along one of the lines or at one of the intersections.
What is the golden ratio in framing?
The golden ratio in framing is a compositional technique in which the frame is divided into sections in the ratio of 1:1.618, and the subject of the shot is placed along one of the lines or at one of the intersections.
What is the difference between a close-up shot and a wide shot?
The difference between a close-up shot and a wide shot is that a close-up shot has a tight framing that focuses on a particular subject or detail, while a wide shot has a wide framing that shows the entire scene or environment.
What is the difference between a medium shot and a long shot?
The difference between a medium shot and a long shot is that a medium shot has a medium framing that shows the subject from the waist up, while a long shot has a wide framing that shows the subject from head to toe.
What is the difference between a high angle shot and a low angle shot?
The difference between a high angle shot and a low angle shot is that a high angle shot is taken from an elevated position, while a low angle shot is taken from a low position.
What is the difference between a Dutch angle shot and a straight angle shot?
The difference between a Dutch angle shot and a straight angle shot is that a Dutch angle shot is taken with the camera tilted to one side, while a straight angle shot is taken with the camera level.
What is the difference between a static shot and a moving shot?
The difference between a static shot and a moving shot is that a static shot is taken with the camera stationary, while a moving shot is taken with the camera in motion.
What is the difference between a handheld shot and a tripod shot?
The difference between a handheld shot and a tripod shot is that a handheld shot is taken with the camera handheld, while a tripod shot is taken with the camera mounted on a tripod.
What is the difference between a shallow depth of field and a deep depth of field?
The difference between a shallow depth of field and a deep depth of field is that a shallow depth of field has a narrow area in focus, while a deep depth of field has a wide area in focus.
What is the difference between a soft focus shot and a sharp focus shot?
The difference between a soft focus shot and a sharp focus shot is that a soft focus shot has a soft, blurred effect, while a sharp focus shot has a crisp, sharp effect.
What is the difference between a natural light shot and a studio light shot?
The difference between a natural light shot and a studio light shot is that a natural light shot is taken using available light, while a studio light shot is taken using artificial lighting.
What is the difference between a day shot and a night shot?
The difference between a day shot and a night shot is that a day shot is taken during the day, while a night shot is taken at night.
What is the difference between a color shot and a black and white shot?
The difference between a color shot and a black and white shot is that a color shot is taken in color, while a black and white shot is taken in black and white.
What is the difference between a high contrast shot and a low contrast shot?
The difference between a high contrast shot and a low contrast shot is that a high contrast shot has a greater range of tones, while a low contrast shot has a more subtle range of tones.
What is the difference between a high saturation shot and a low saturation shot?
The difference between a high saturation shot and a low saturation shot is that a high saturation shot has more vivid colors, while a low saturation shot has more muted colors.
What is the difference between a high exposure shot and a low exposure shot?
The difference between a high exposure shot and a low exposure shot is that a high exposure shot has a brighter image, while a low exposure shot has a darker image.
What is the difference between a high ISO shot and a low ISO shot?
The difference between a high ISO shot and a low ISO shot is that a high ISO shot has more grain and noise, while a low ISO shot has less grain and noise.
Conclusion
Framing is an essential element of videography that allows creators full control over what their audience sees. By taking advantage of composition techniques such as leading lines, symmetry/balance, depth/layers, and advanced framing techniques like rack focus zooms/pans, videographers have great control over how their audience perceives their videos – including the emotions they feel!
The key takeaway here is that understanding how framing works will enable you with even more tools on how you craft your stories visually through videography which could result in more engaging content viewers are drawn to.

I am a highly experienced film and media person who has a great deal to offer to like-minded individuals. Currently working on several exciting projects, I am a film and media practitioner for over a decade. I have achieved a great deal of success in my professional career.