The Streaming Content Arms Race.
In the fiercely competitive world of streaming, content is king. As platforms battle for subscribers, they continuously expand their libraries, hoping to offer the ultimate cinematic buffet. For movie lovers, the sheer number of films available on any given service can be a major deciding factor. But in this ever-shifting landscape, which streaming service truly boasts the most movies? The answer is more complex than a simple number, constantly in flux as licensing deals change and new originals debut.
2. The Challenge of Counting: Why Numbers Fluctuate.
Pinpointing the exact number of movies on any streaming service at a specific moment is akin to hitting a moving target. Several factors contribute to this dynamic challenge:
- Dynamic Licensing Agreements: Content contracts expire and are renewed, or films move from one service to another. A movie available today might be gone tomorrow.
- Monthly Additions and Removals: Services continuously add new titles (originals and licensed content) and remove others. Monthly “what’s new” lists are common, but “what’s leaving” lists are equally active.
Regional Variations: Due to complex international distribution rights, the library of a service like Netflix or Amazon Prime Video can vary dramatically from one country to another. A film available in the USA might not be in Europe, and vice versa.
Definition of “Movie”: Do short films count? Documentaries? Concert films? While generally focusing on feature-length narratives and documentaries, some services include a broader range.
Data Collection Methods: Third-party tracking services (which compile these numbers) use various methodologies, leading to slightly different counts across reports. Real-time, exact figures directly from the streaming companies are rarely publicly disclosed.
Rent/Buy Options vs. Included Content: Services like Amazon Prime Video integrate content available for rent or purchase alongside titles included with a subscription, which can inflate perceived library size if not carefully differentiated.
3. Top Contenders by Movie Volume (and Recent Trends)
Despite the challenges in precise counting, industry analysis and user experience consistently point to a few front-runners when it comes to the sheer volume of movies available.
- Amazon Prime Video: The Undisputed Leader in Sheer Volume
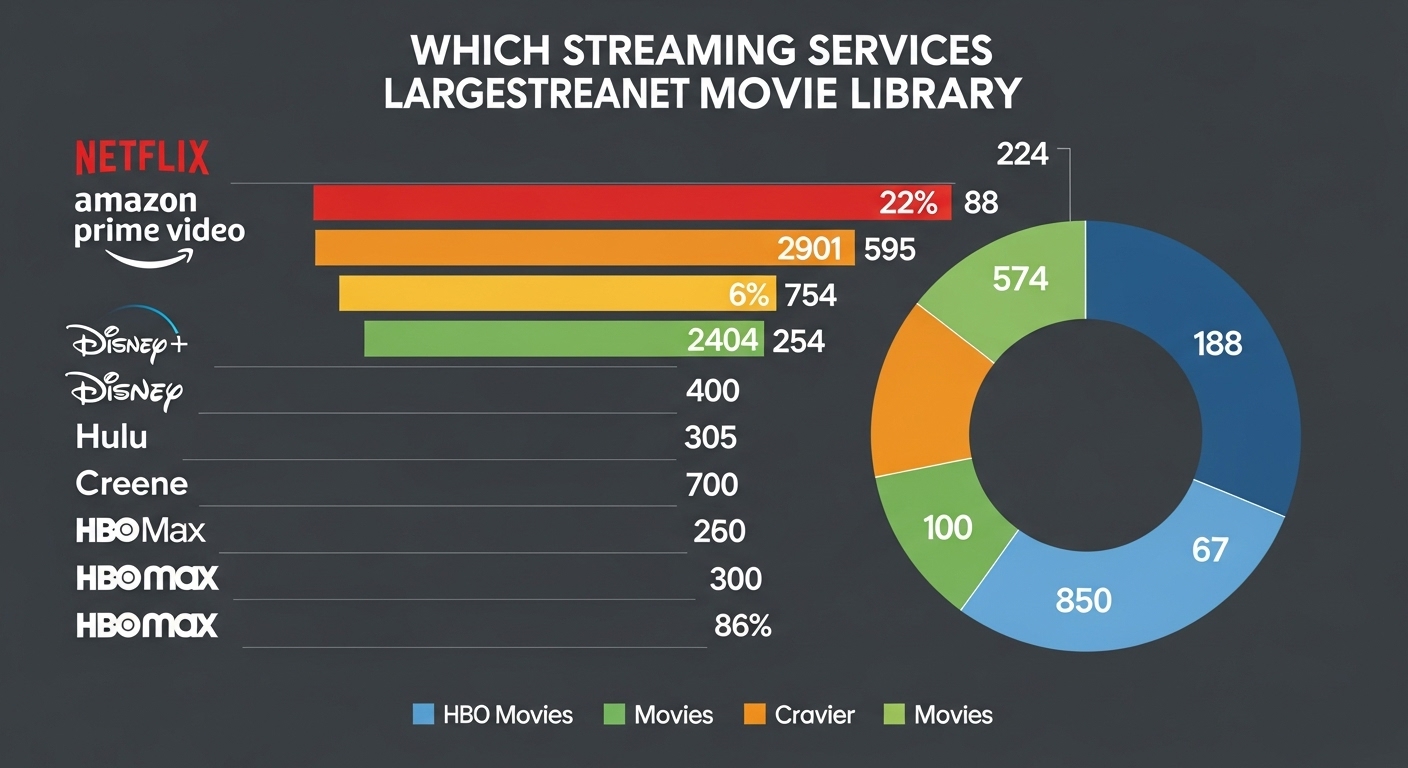
- Estimated Movies: Often cited as having the largest movie library, with estimates frequently ranging from 15,000 to over 25,000 titles. Some analyses suggest its library can be three times larger than its closest competitors.
- Why it’s so big: Amazon Prime Video combines a vast licensed catalog (including older films, niche genres, and international cinema) with its growing roster of Amazon Originals. Critically, its platform seamlessly integrates movies available for free with a Prime subscription alongside thousands of additional titles available for rent or purchase. While not all are “included,” this combined accessibility gives it an unparalleled breadth.
- Trend: Continues to acquire a wide range of content, making it a go-to for discovery, even if the user experience can sometimes feel overwhelming due to the sheer volume and mix of included/paid content.
Netflix: The King of Accessibility and Originals with a Vast Library.
Estimated Movies: While known for its pivot to original content, Netflix still maintains a very substantial movie library, typically estimated to be in the range of 3,000 to 5,000+ movies in major regions.
Why it’s so big: Netflix’s strategy has shifted towards producing more original films (Netflix Originals) that are exclusive to the platform, in addition to licensing a rotating selection of popular studio titles. While its total licensed library may have shrunk compared to its peak years, its consistent output of new, often high-profile, original movies ensures a fresh and compelling selection.
Trend: Focuses on quality and global appeal of its originals, while maintaining a strong, albeit more curated, licensed library. Its user-friendly interface makes Browse this vast collection easy.
Max (formerly HBO Max): The Premium Powerhouse.
- Estimated Movies: While not competing with Prime Video’s raw numbers, Max boasts a robust movie library, generally estimated to be in the 1,500 to 2,000+ range, but with an emphasis on quality and prestige.
- Why it’s so big: Max benefits from the extensive Warner Bros. Discovery catalog, including films from Warner Bros., HBO Films, DC, Turner Classic Movies, and more. It’s often the first streaming home for many recent theatrical blockbusters from Warner Bros.
- Trend: Focuses on premium, critically acclaimed cinema and a strong collection of established franchises and classics, making it a must-have for cinephiles.
Hulu: A Strong Contender with a Focus on TV & Select Films.
- Estimated Movies: Hulu’s movie library, while substantial, is often overshadowed by its strength in TV content. Estimates for its movie count can range from 1,500 to 2,500+, with significant monthly additions.
- Why it’s so big: Hulu features a mix of licensed films from various studios (often next-day TV content from major networks), as well as Hulu Originals. Its integration with the Disney Bundle (Hulu, Disney+, ESPN+) can also broaden its appeal.
Trend: Continues to be a key player for TV series, and its movie library complements this, often including recent releases and a good selection of genre films.
Disney+: Niche but Deep
- Estimated Movies: Disney+ has a more focused, yet incredibly deep, library, estimated at around 600-800+ movies.
- Why it’s so big: Its strength lies in its iconic franchises and studios: Disney Animation, Pixar, Marvel, Star Wars, and National Geographic. While smaller in overall count, its content is highly exclusive and appealing to specific demographics.
Trend: Continues to expand within its branded universes, with new theatrical releases and exclusive series/films.
- Paramount+ and Peacock:
- These services are growing rapidly and add significant numbers of movies monthly, particularly from their parent companies’ theatrical releases (Paramount Pictures for Paramount+, Universal for Peacock). Their libraries are substantial and constantly expanding, offering a good mix of new and catalog titles, though typically not reaching the sheer volume of Prime Video or Netflix.
In summary, while Netflix offers an easily navigable and constantly updated large library, Amazon Prime Video typically holds the crown for the sheer number of movies available, though its mixed model of included and rental content should be noted.

I am a highly experienced film and media person who has a great deal to offer to like-minded individuals. Currently working on several exciting projects, I am a film and media practitioner for over a decade. I have achieved a great deal of success in my professional career.